Введение
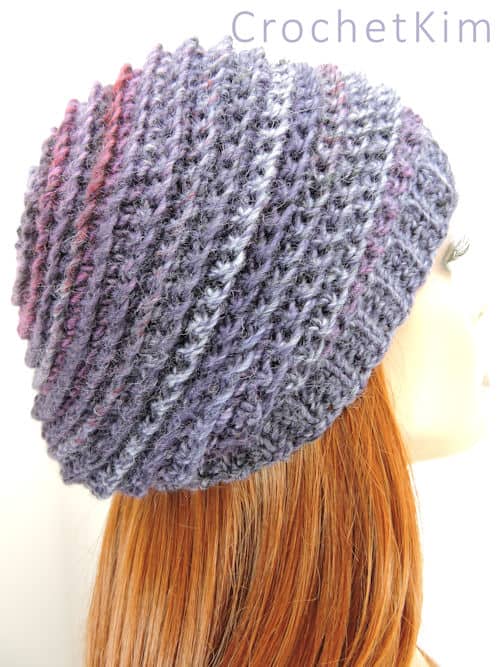
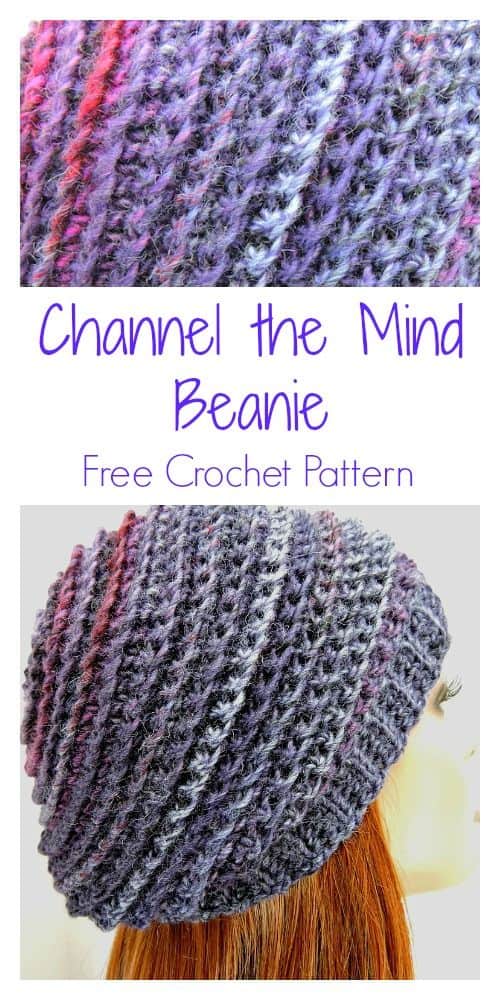
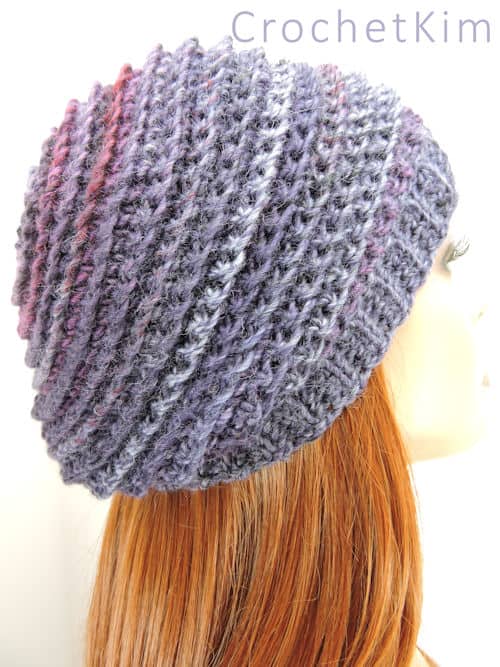
Channel the Mind Beanie
designed by Kim Guzman © February 2017
Please read my Terms of Use
Technique: Regular Crochet
Purchase Ad-Free PDF
Downloadable Pattern Available At:
Ravelry | Etsy
Finished size
Hat body 20, brim 19″ (stretchy), height 8.5″
Materials
- Plymouth Yarn Mushishi, 491 yds per 250g, bulky weight, 95% wool/5% silk, one skein, shown in color Purple Black, about 150 yards used
- Suggested hook sizes: K-10½ [6.5mm] (larger hook) and I-9 [5.5mm] (smaller hook)
- Needle (for weaving ends and seaming )
Pin it for Later:
Notes
I received the hank of Mushishi as a gift. It is a 491-yard hank. I first made the Rockin’ the Changes Infinity Scarf HERE and I still had enough yardage to make this hat, but I used every bit of it so there isn’t any room for fluctuations in tension or size if you want to make both from the same hank of yarn.
I would suggest that you make the hat first to ensure that you have enough yarn since the cowl can have more size flexibility.
The hat is fairly stretchy and has no problem fitting the 22″ circumference of my mannequin’s head. It’s slightly slouchy in the back. I knew that I only had about 150 yards remaining so everything about the design is planned to use the least amount of yarn possible.
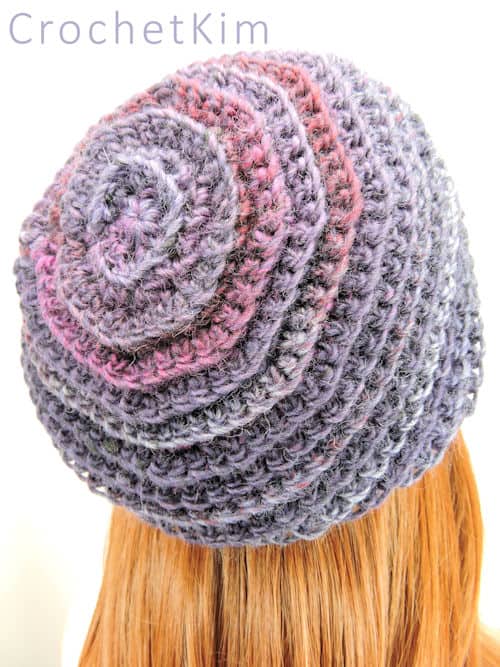
This hat is worked top-down in rows instead of rounds. It will be seamed later. Rows are necessary for the stitch pattern to have this look.
If you prefer, it is possible to join each round with a slip stitch and still turn. You would avoid having to manually seam.
I didn’t write it this way because it seems to be a confusing concept to many, but it’s absolutely something you can do in order to avoid seaming afterward. You just slip stitch the way you would normally and then turn to work on the other side instead of going in the same direction. Count your stitches to ensure that you don’t add an extra stitch by stitching into the slip stitch.
All rows are made in back loop only. I like to work the last stitch of a row in both loops, though. If you get a loopy loop at the last stitch of a row, try working under both loops for that stitch as I have found it works better that way.
You might also like: 12 Beautiful Beanie Hats
Gauge
After row 6, approx. 2″
After row 14, approx. 4″
Crochet Pattern Instructions
Instructions
Row 1: With larger hook, ch 2, 8 sc in 2nd ch from hook, turn: 8 sc.
Row 2: Ch 1, working in back loops here and throughout, 2 sc in each sc across, turn: 16 sc.
Row 3: Ch 1, [sc in next sc, 2 sc in next sc] across, turn: 24 sc.
Row 4: Ch 1, [sc in next 2 sc, 2 sc in next sc] across, turn: 32 sc.
Row 5: Ch 1, sc in each sc across, turn: 32 sc.
Row 6: Ch 1, [sc in next 3 sc, 2 sc in next sc] across, turn: 40 sc.
Row 7: Rep row 5: 40 sc.
Row 8: Ch 1, [sc in next 4 sc, 2 sc in next sc] across, turn: 48 sc.
Row 9: Rep row 5: 48 sc.
Row 10: Ch 1, [sc in next 5 sc, 2 sc in next sc] across, turn: 56 sc.
Row 11: Rep row 5: 56 sc.
Row 12: Ch 1, [sc in next 6 sc, 2 sc in next sc] across, turn: 64 sc.
Rows 13-30: Rep row 5: 64 sc. Do not fasten off.
Brim
Row 1: (Still attached to hat, ribbing is worked vertically along stitches of hat.) With smaller hook, ch 6, sc in second ch from hook and in next 4 ch, on hat body sk 1 sc from row 30 (under both loops), sl st in next sc, turn ribbing.
Row 2: Working in back loops only, sc in 5 sc, turn ribbing.
Row 3: Ch 1, working in back loops only, sc in 5 sc, on hat body sk 1 sc from row 30, sl st in next sc (under both loops), turn ribbing.
Repeat rows 2-3 until all stitches used from row 30, fasten off.
Finishing
Seam with yarn needle. Weave in all ends securely.